Step 1
Start a book
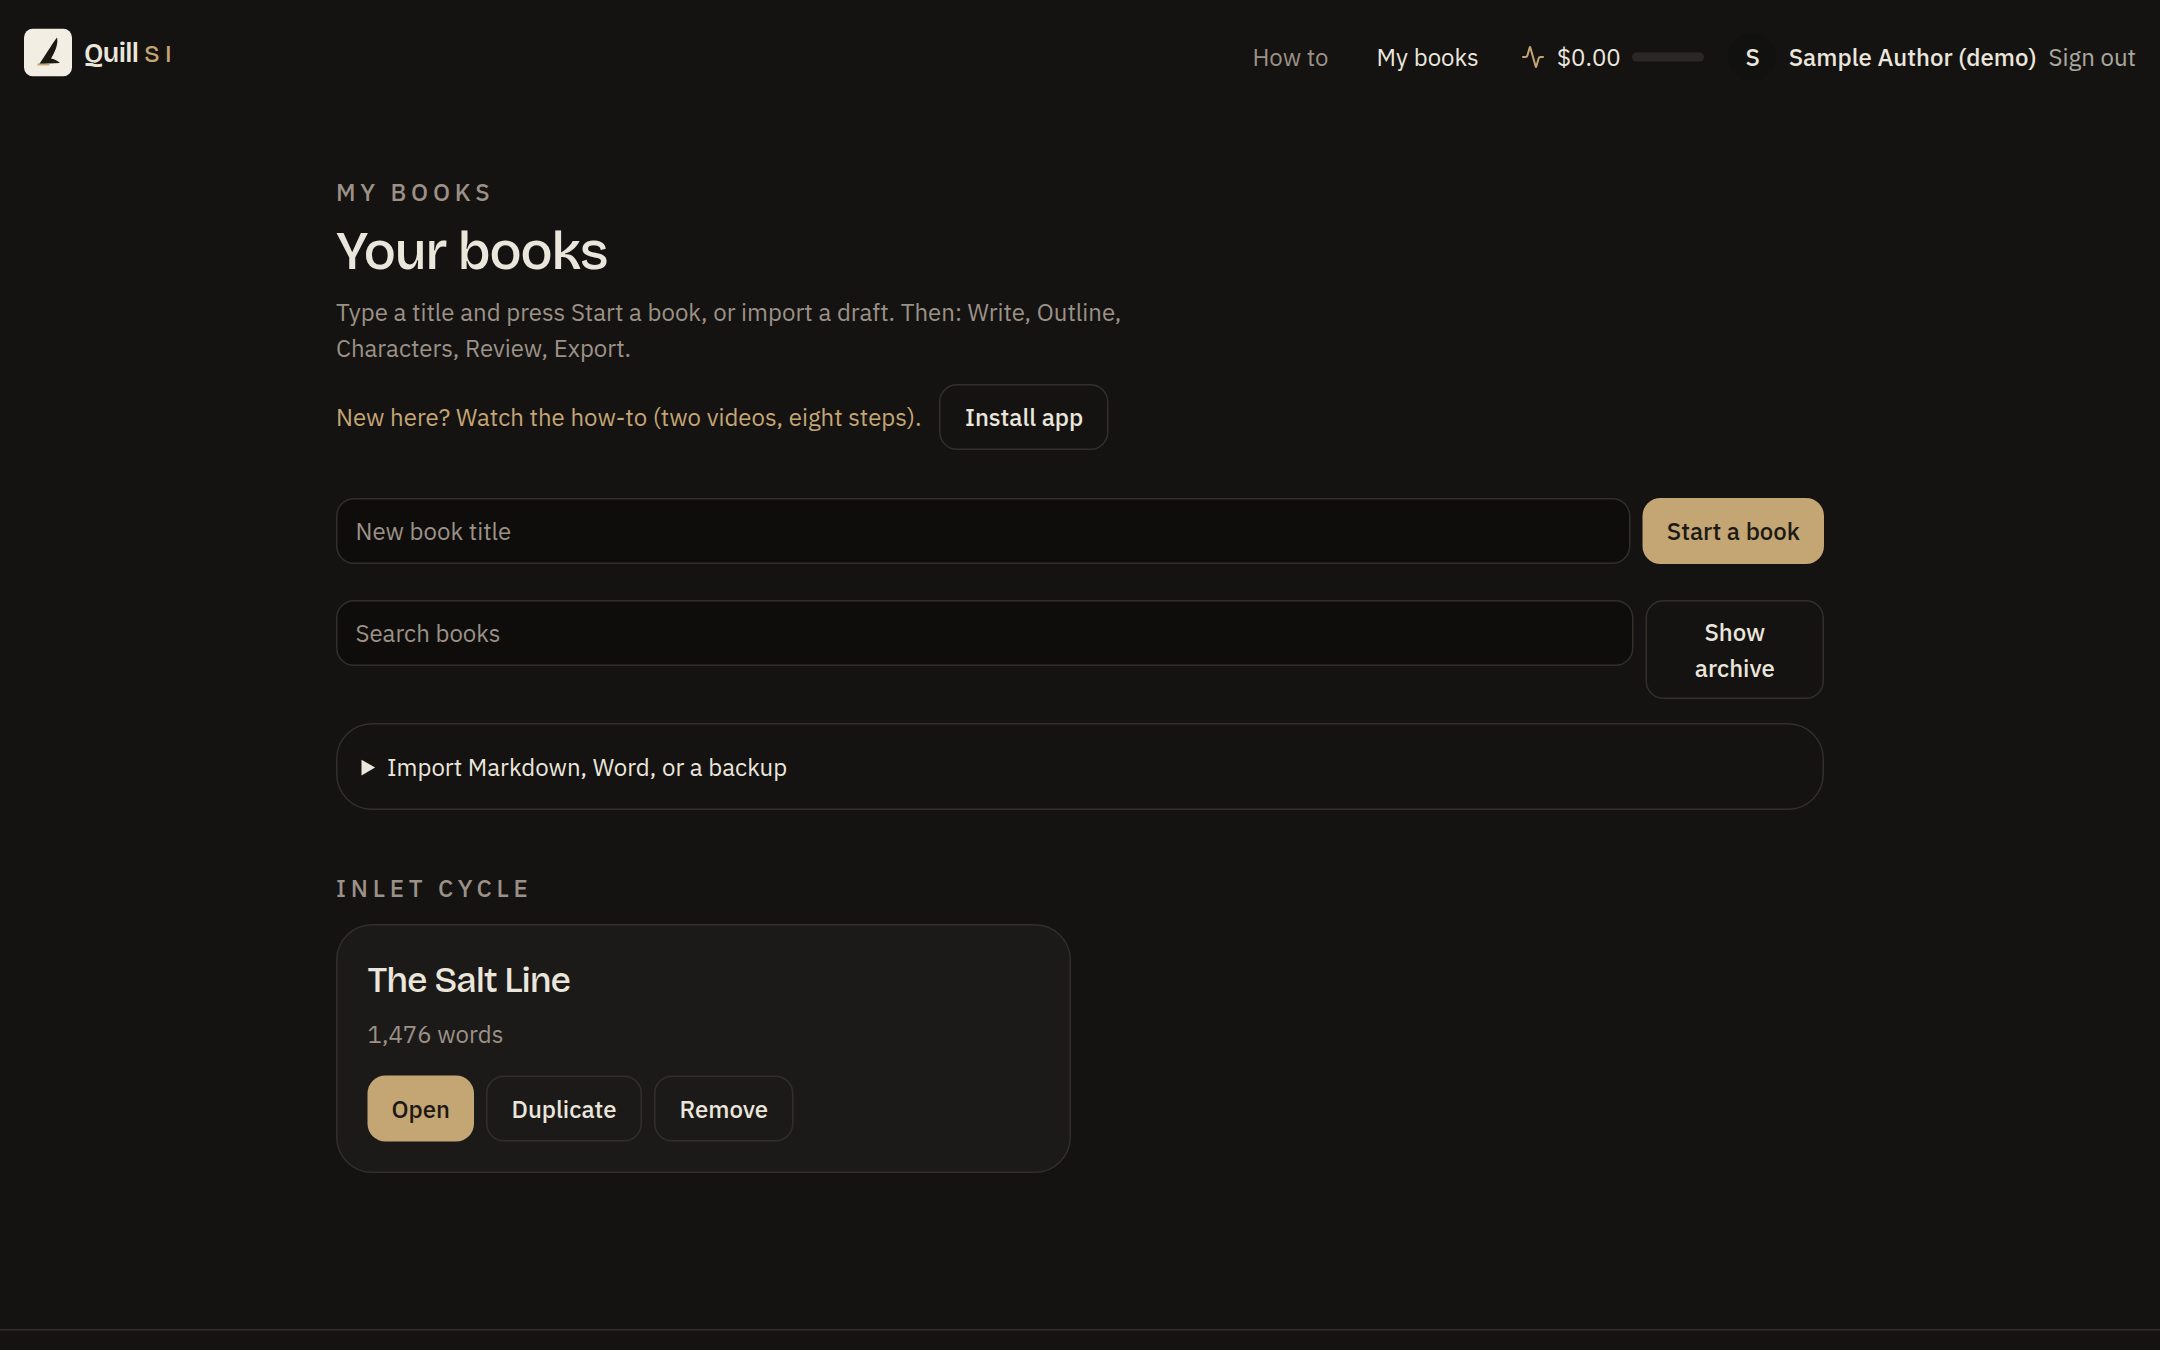
Sign in. On My books, type a title and press Start a book. Or paste a draft under Import. A sample novel is already there so you can click around.
Do this: Open My books → type a title → Start a book.

How to
Finish a book in eight moves. Watch the demo, then follow the steps. Each step shows the real screen.
Demo video
Twenty seconds: the page, then the outline cards, then a finished book.
How-to video
A different picture for each step, with the instruction on screen.
Step 1
Sign in. On My books, type a title and press Start a book. Or paste a draft under Import. A sample novel is already there so you can click around.
Do this: Open My books → type a title → Start a book.
Step 2
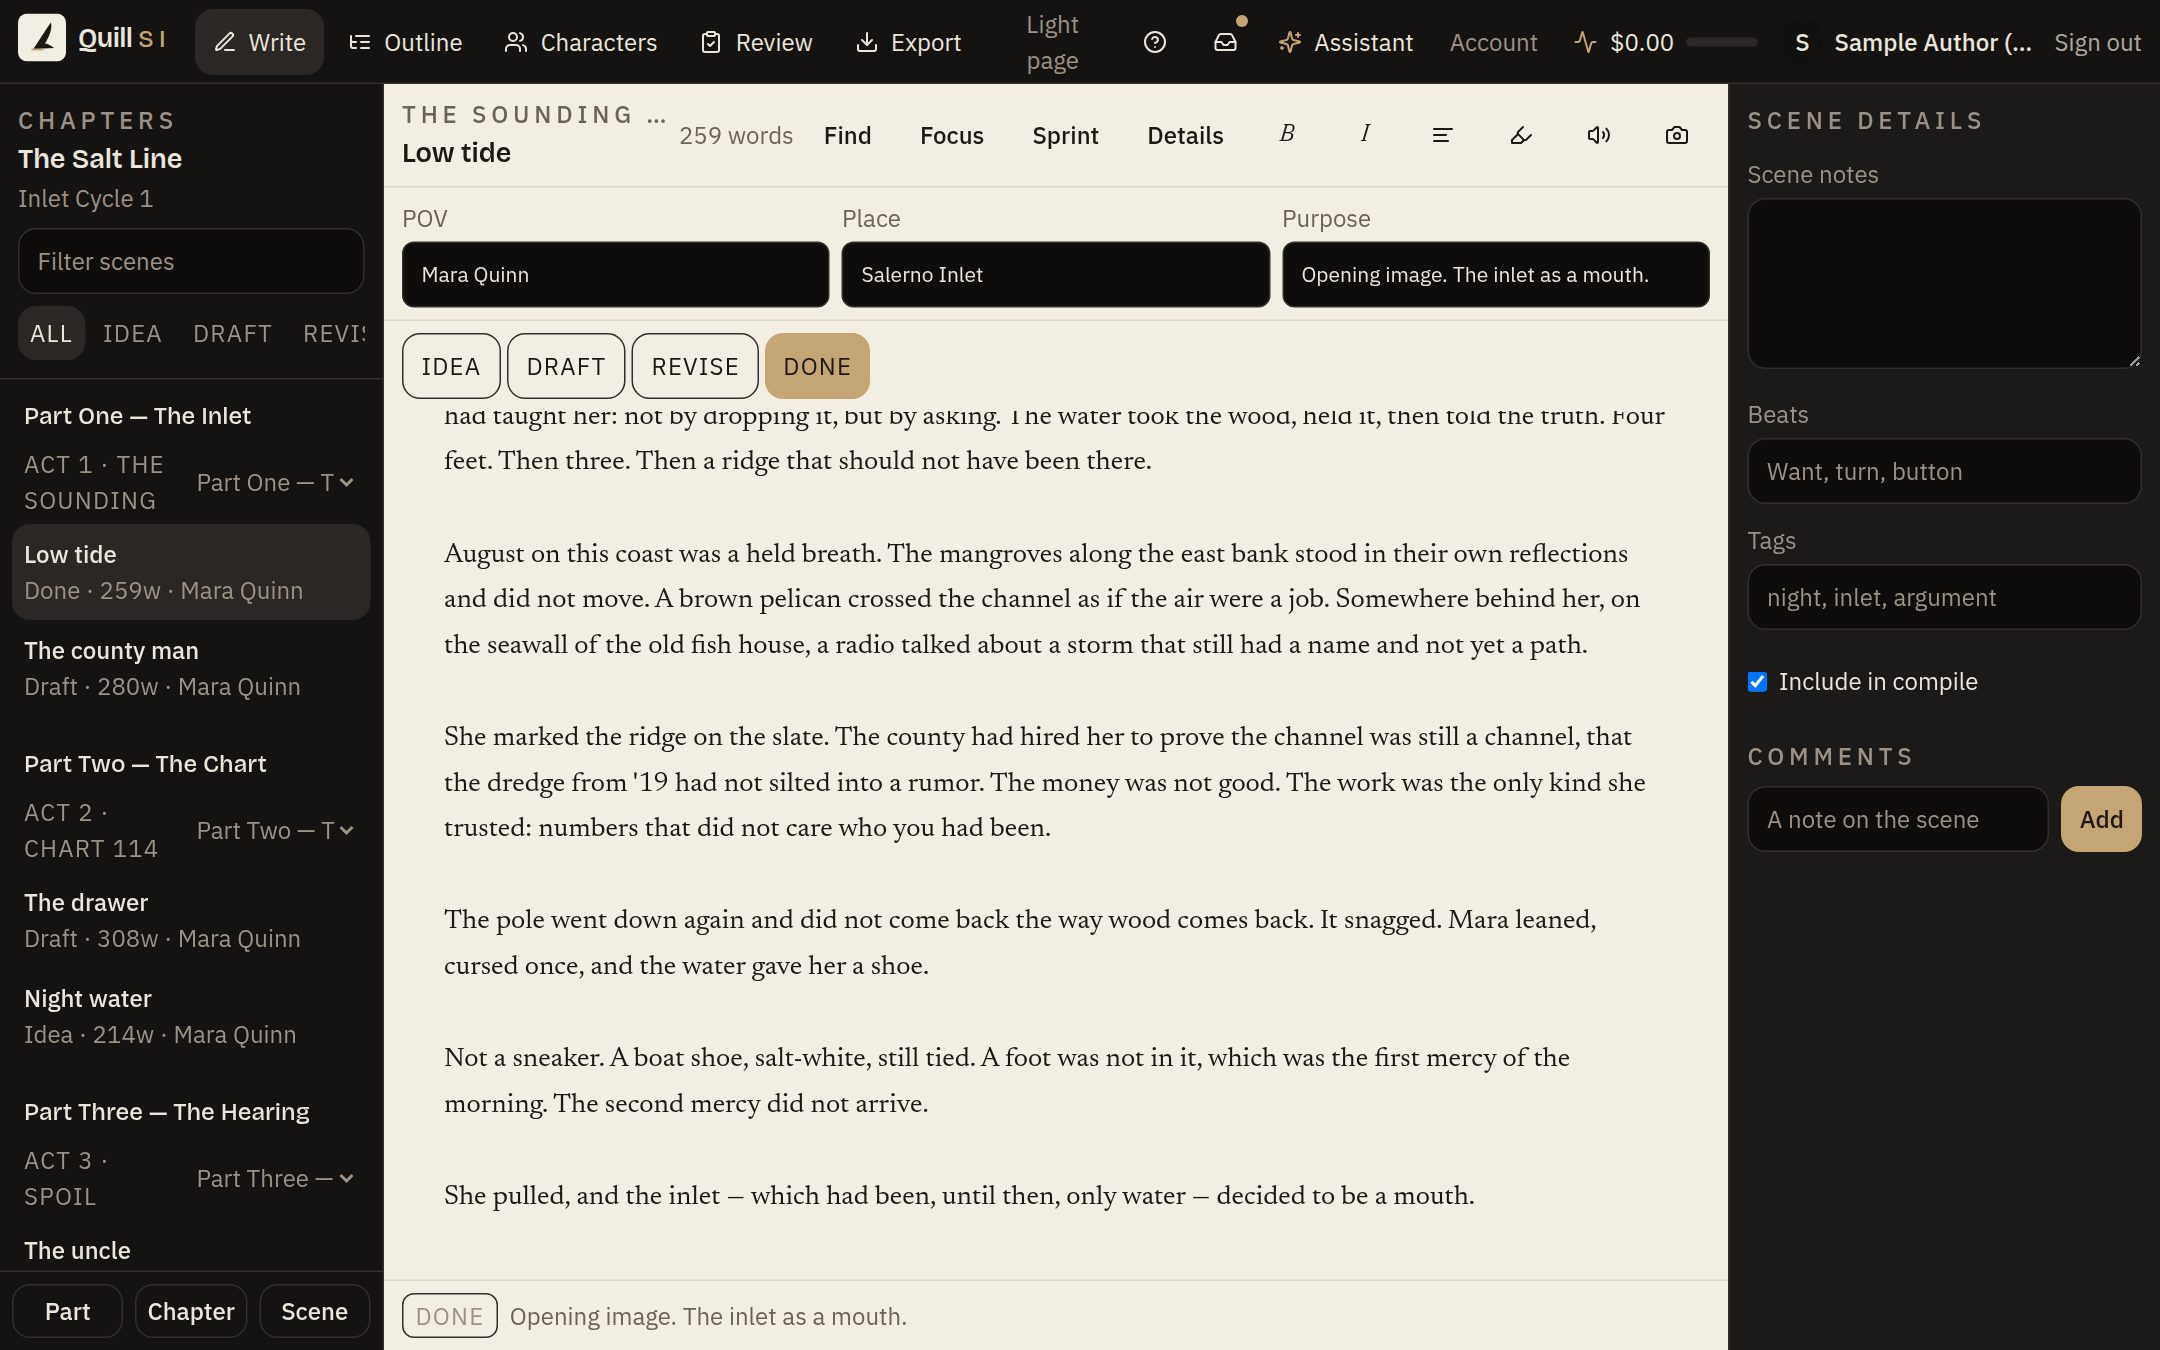
The left list is chapters and scenes. Click a scene. Type in the page. POV, place, and purpose sit above the page so you remember what this scene is for. Status buttons mark Idea, Draft, Revise, or Done.
Do this: Click a scene → type → mark Draft when it exists.

Step 3
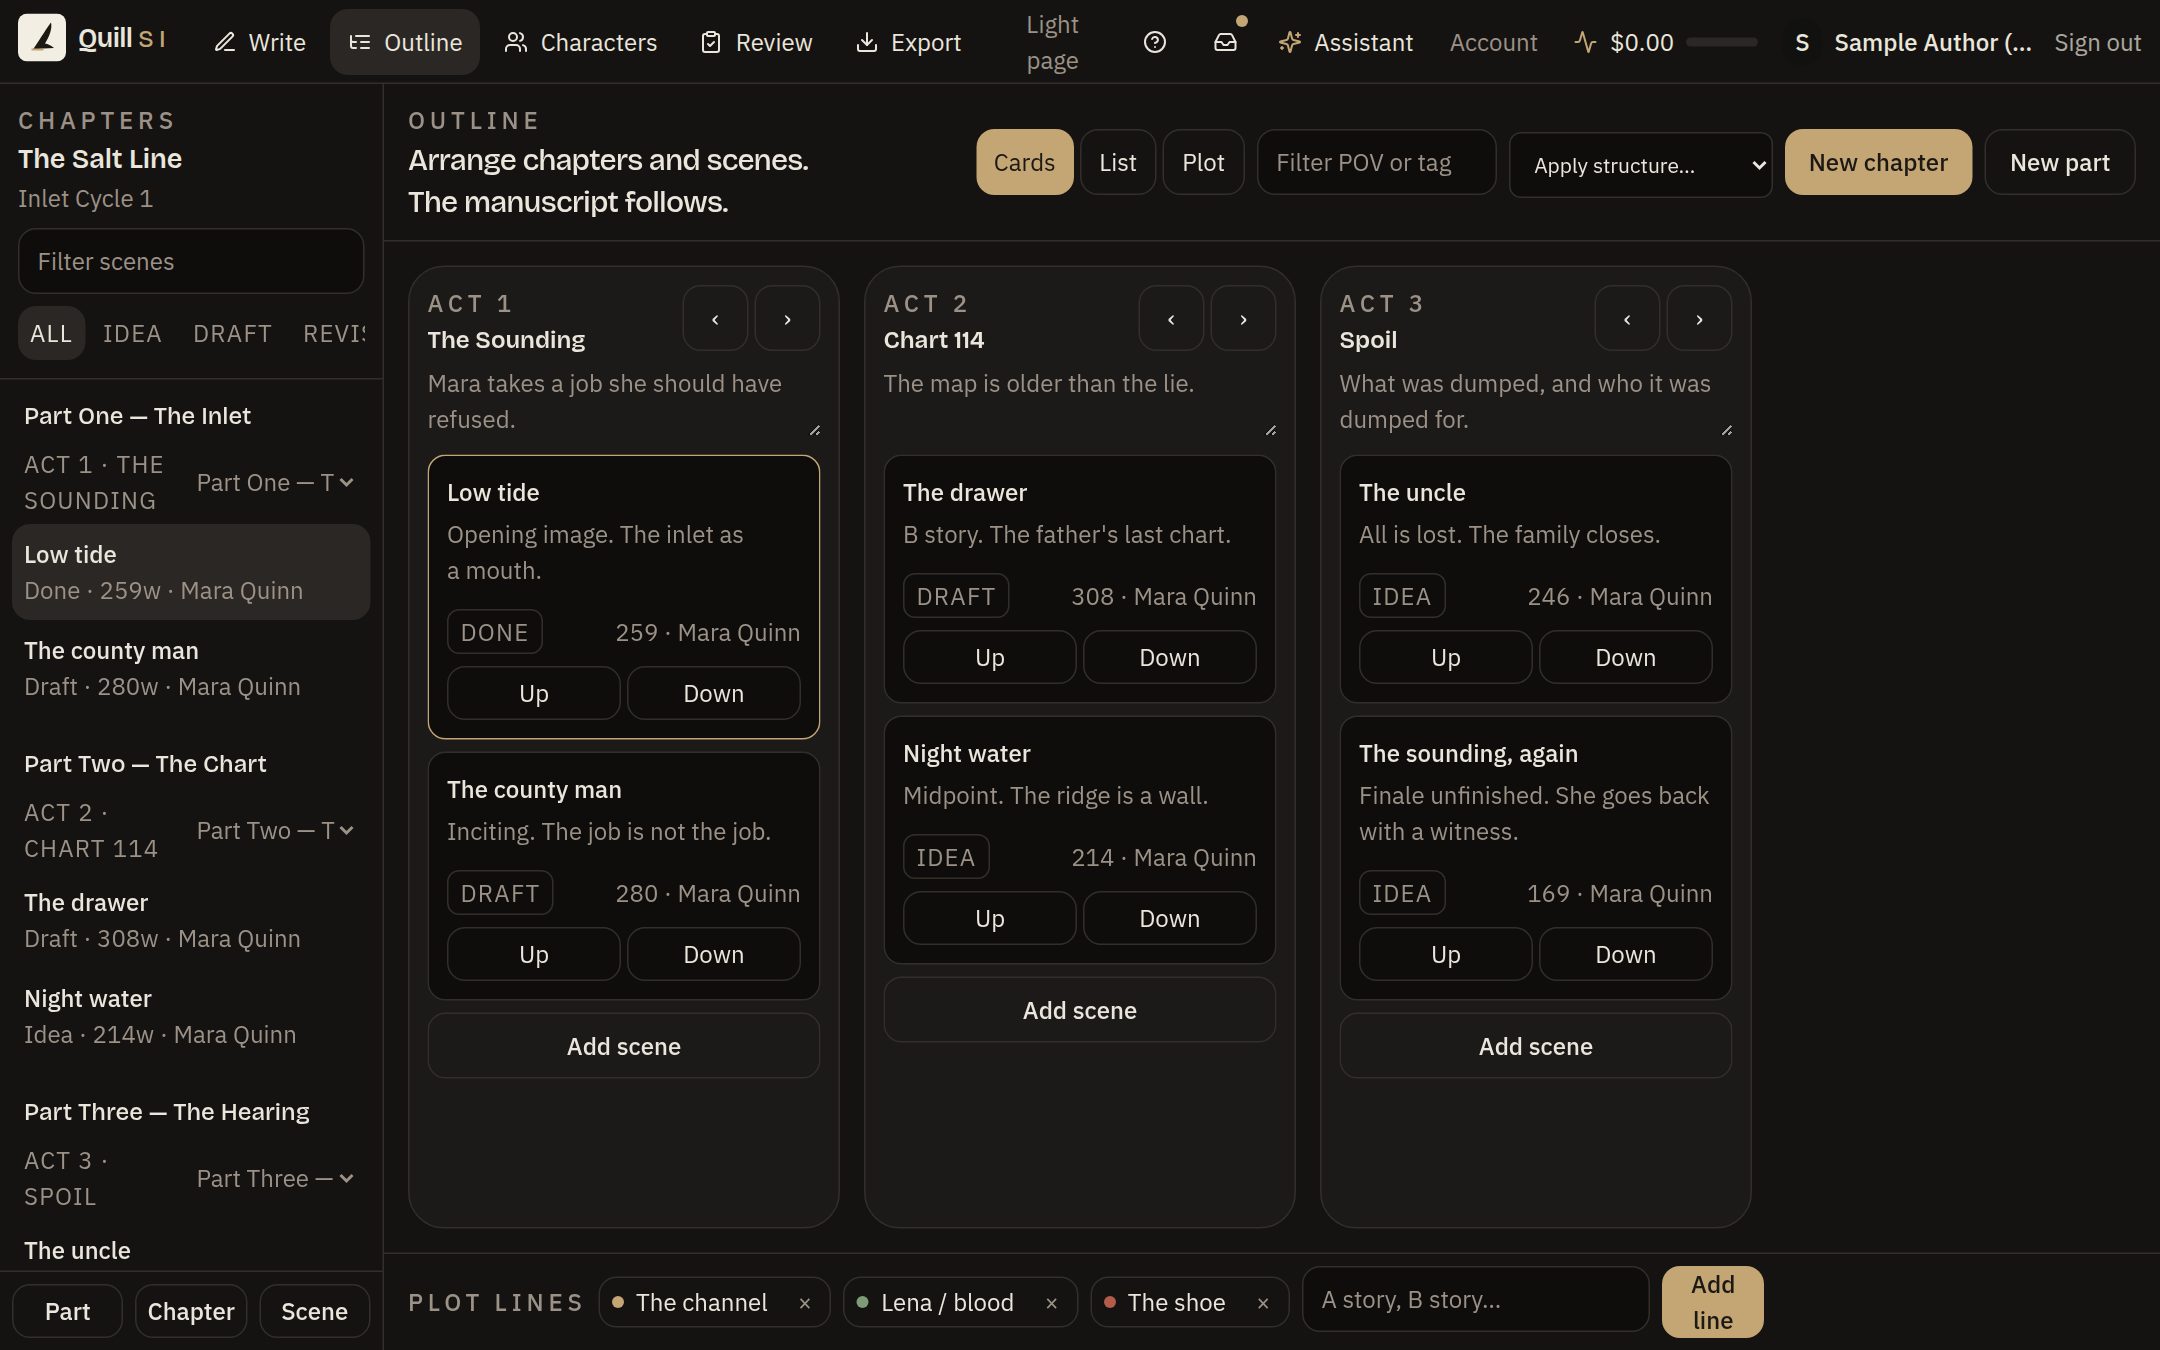
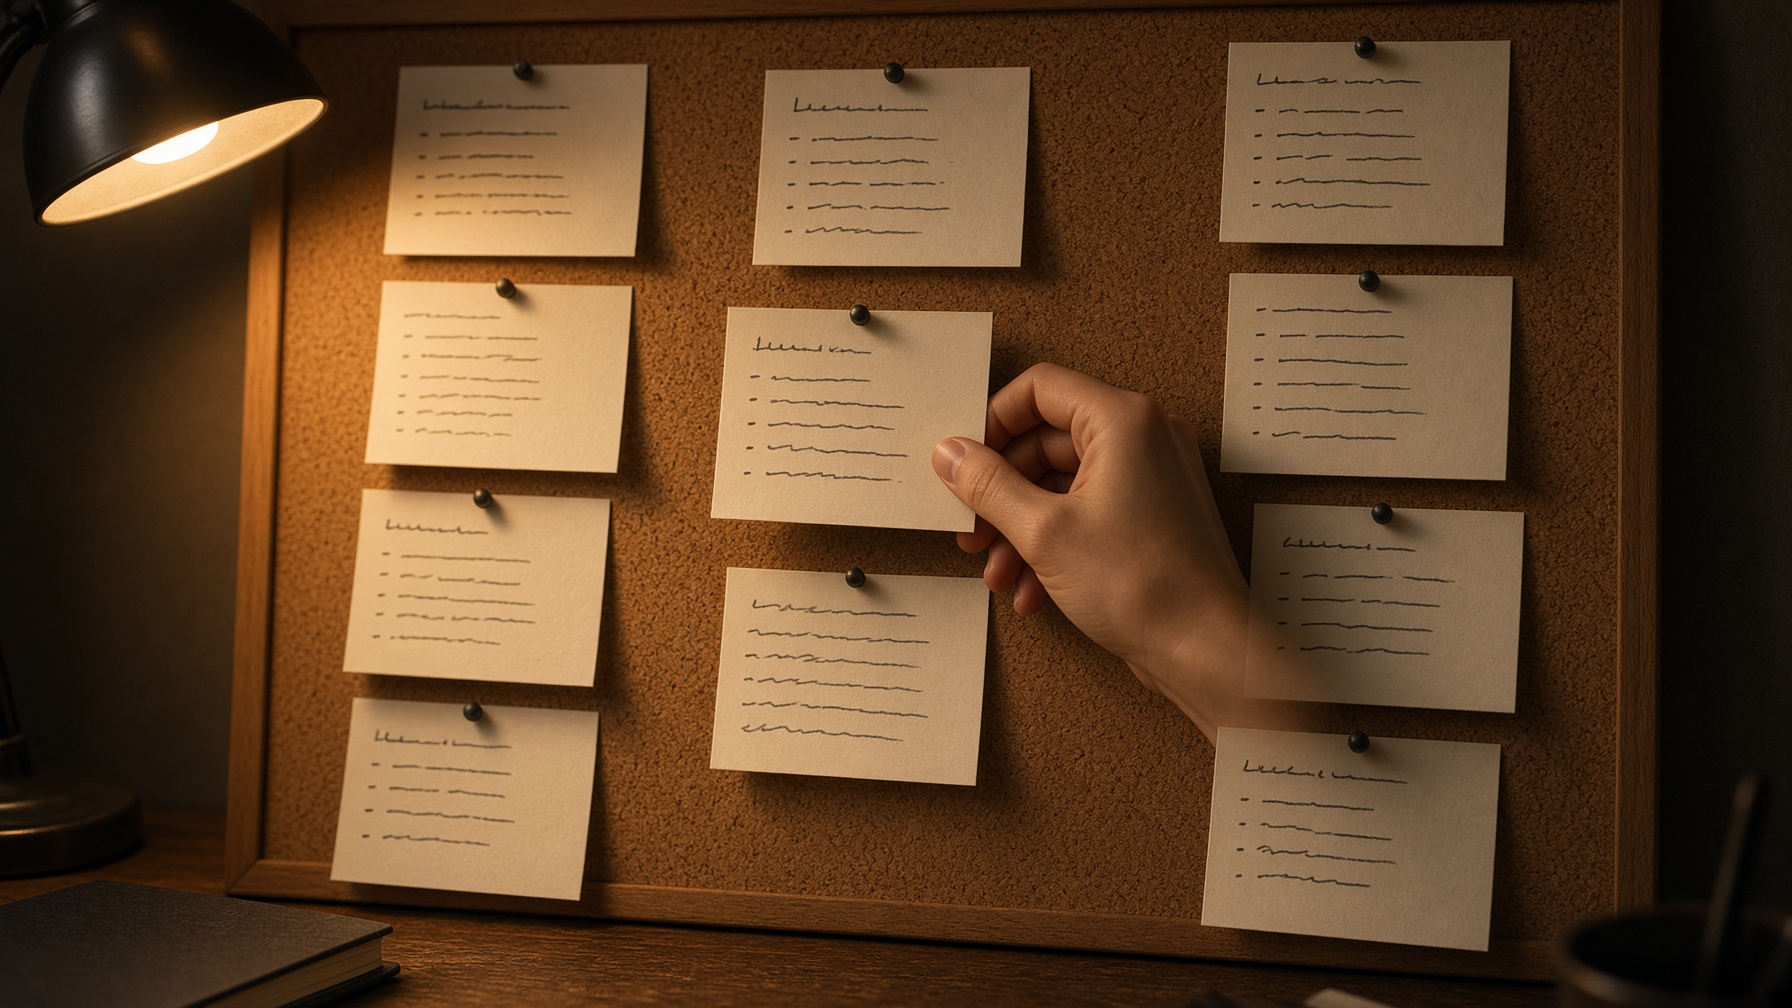
Cards, List, or Plot. Drag a scene onto another chapter. The manuscript follows. Apply structure if you want a ready skeleton (three-act, romance, mystery, and so on).
Do this: Open Outline → drag a card → or use List and the up/down buttons.
Step 4
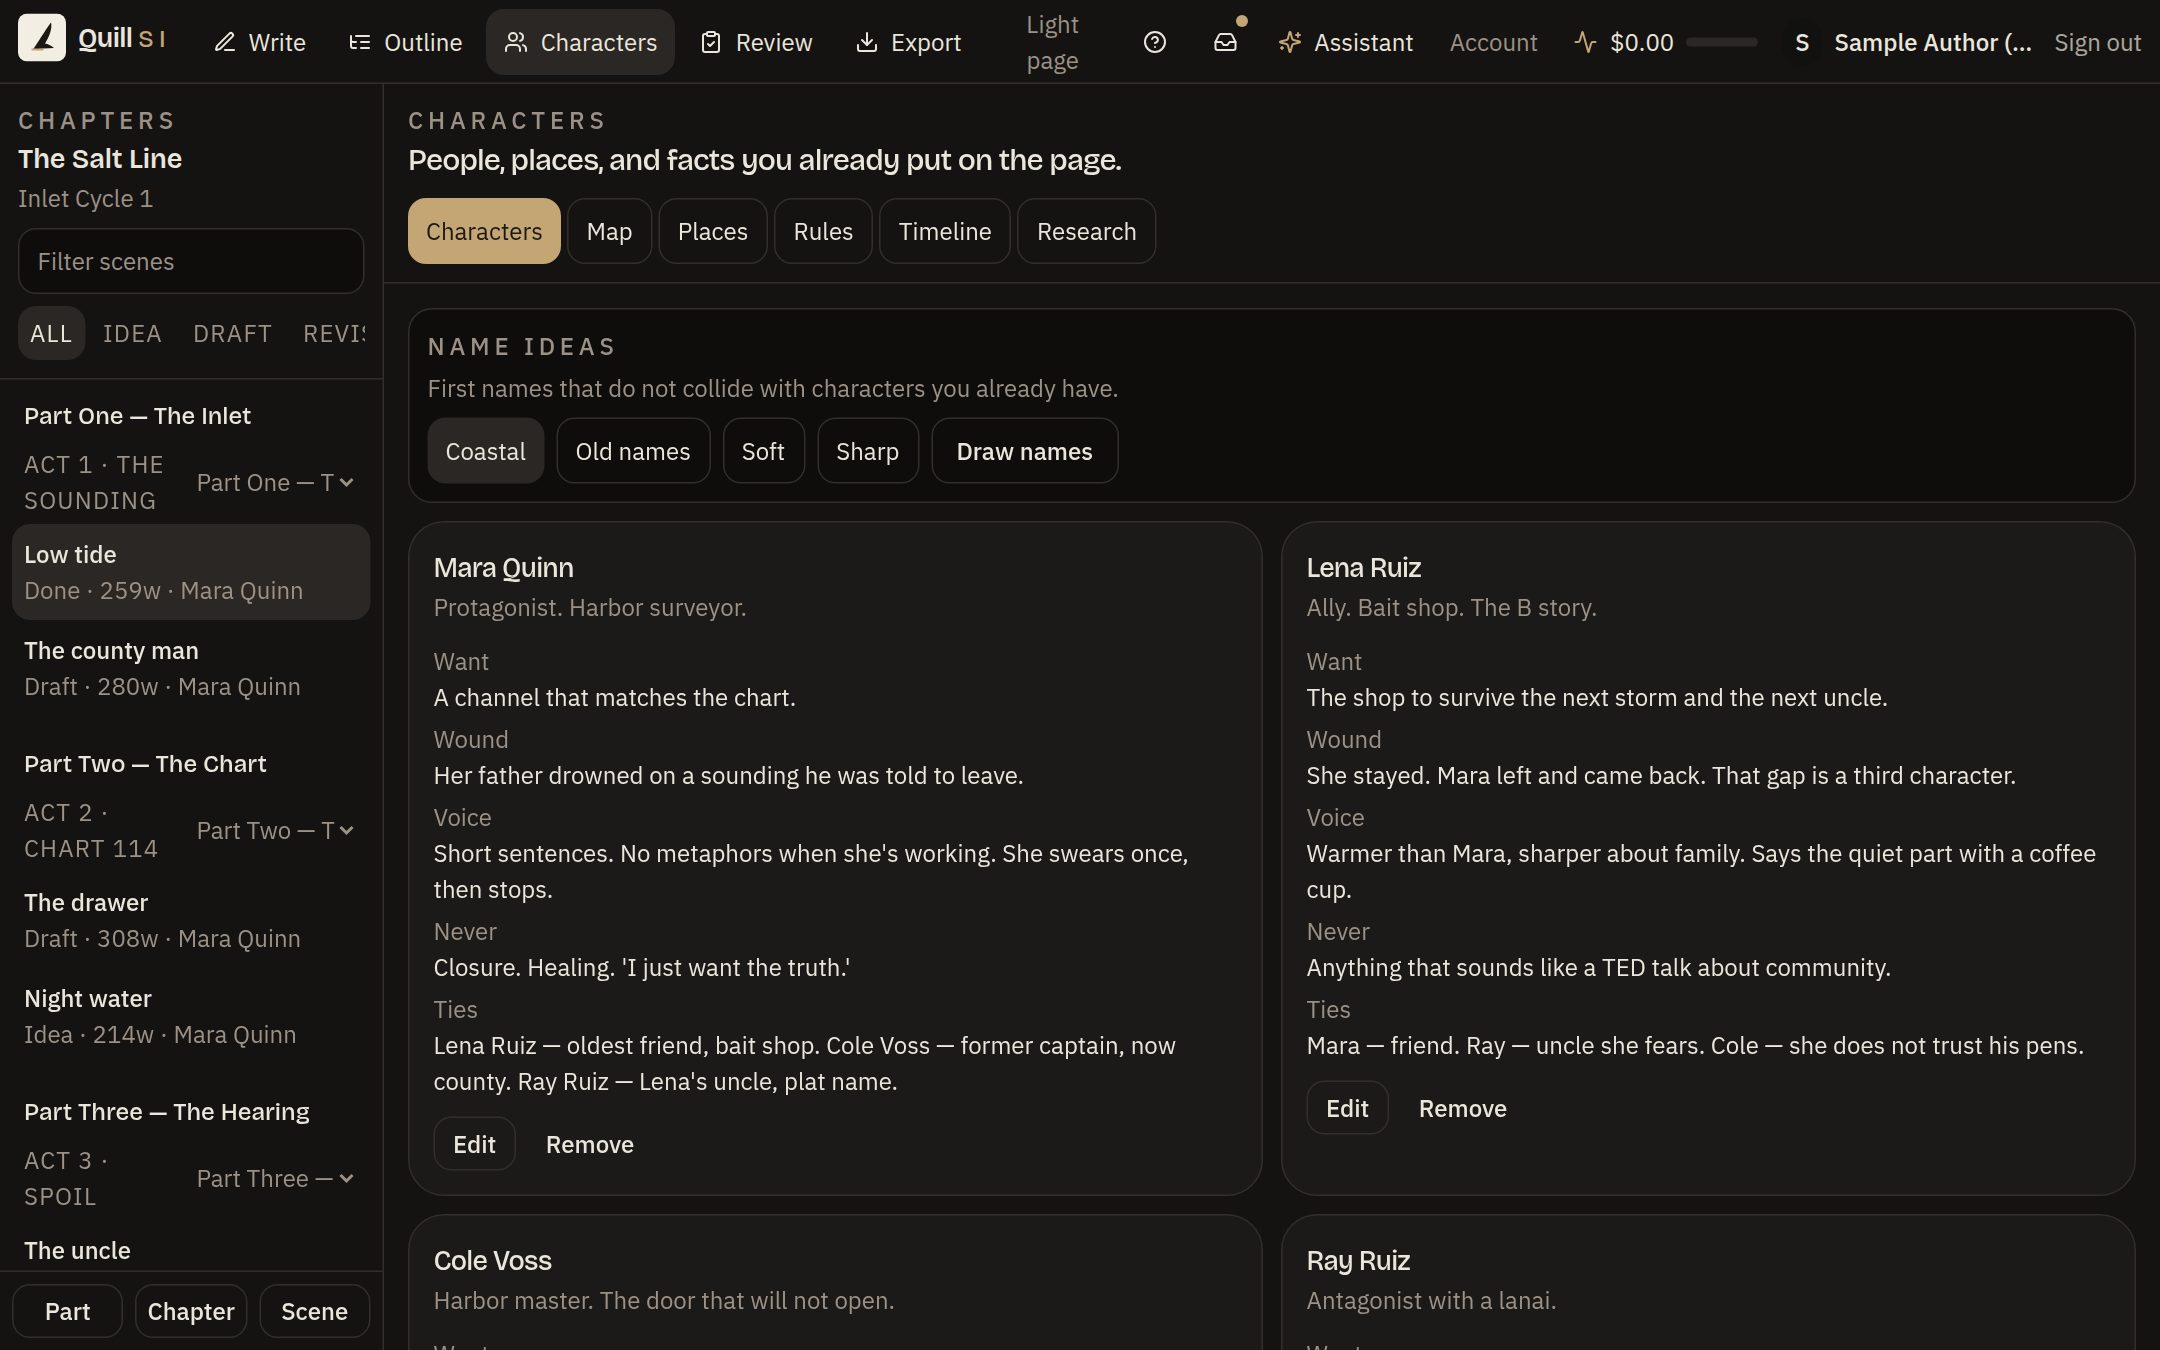
People, places, rules, timeline, research, and a relationship map. If a name appears three times in the draft, it shows up as a stub. Add the card so you do not forget who they are.
Do this: Open Characters → New character → save a name, want, and wound.

Step 5
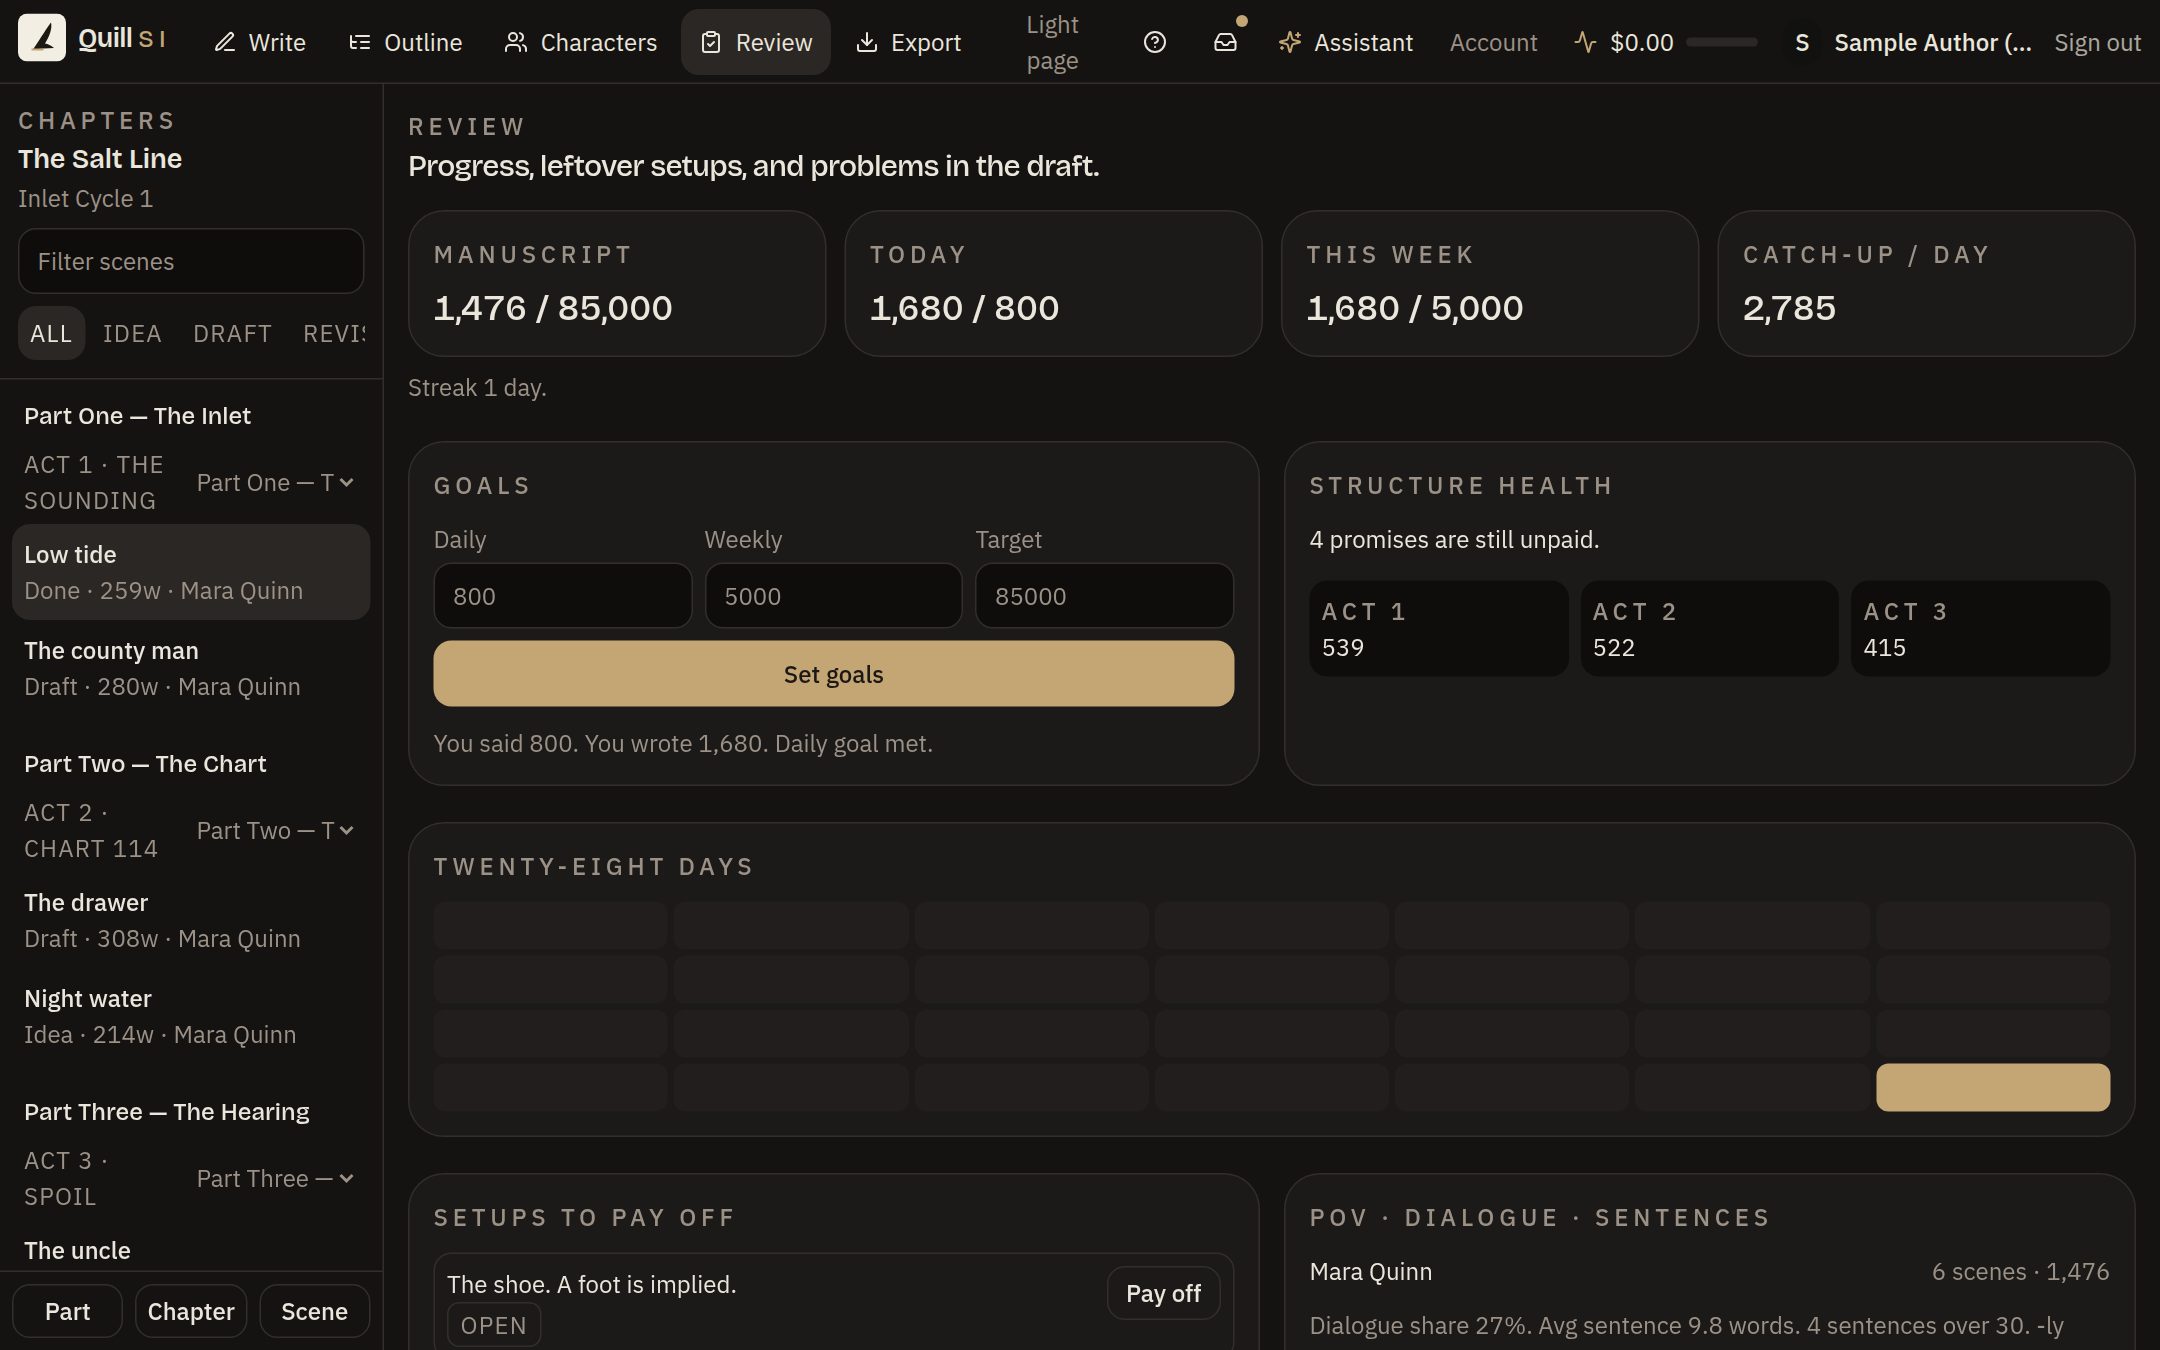
Word counts against your goals. Setups you planted that are still open. Continuity problems. Click Open on a problem to jump to that scene.
Do this: Open Review → read Continuity → click Open and fix the page.
Step 6
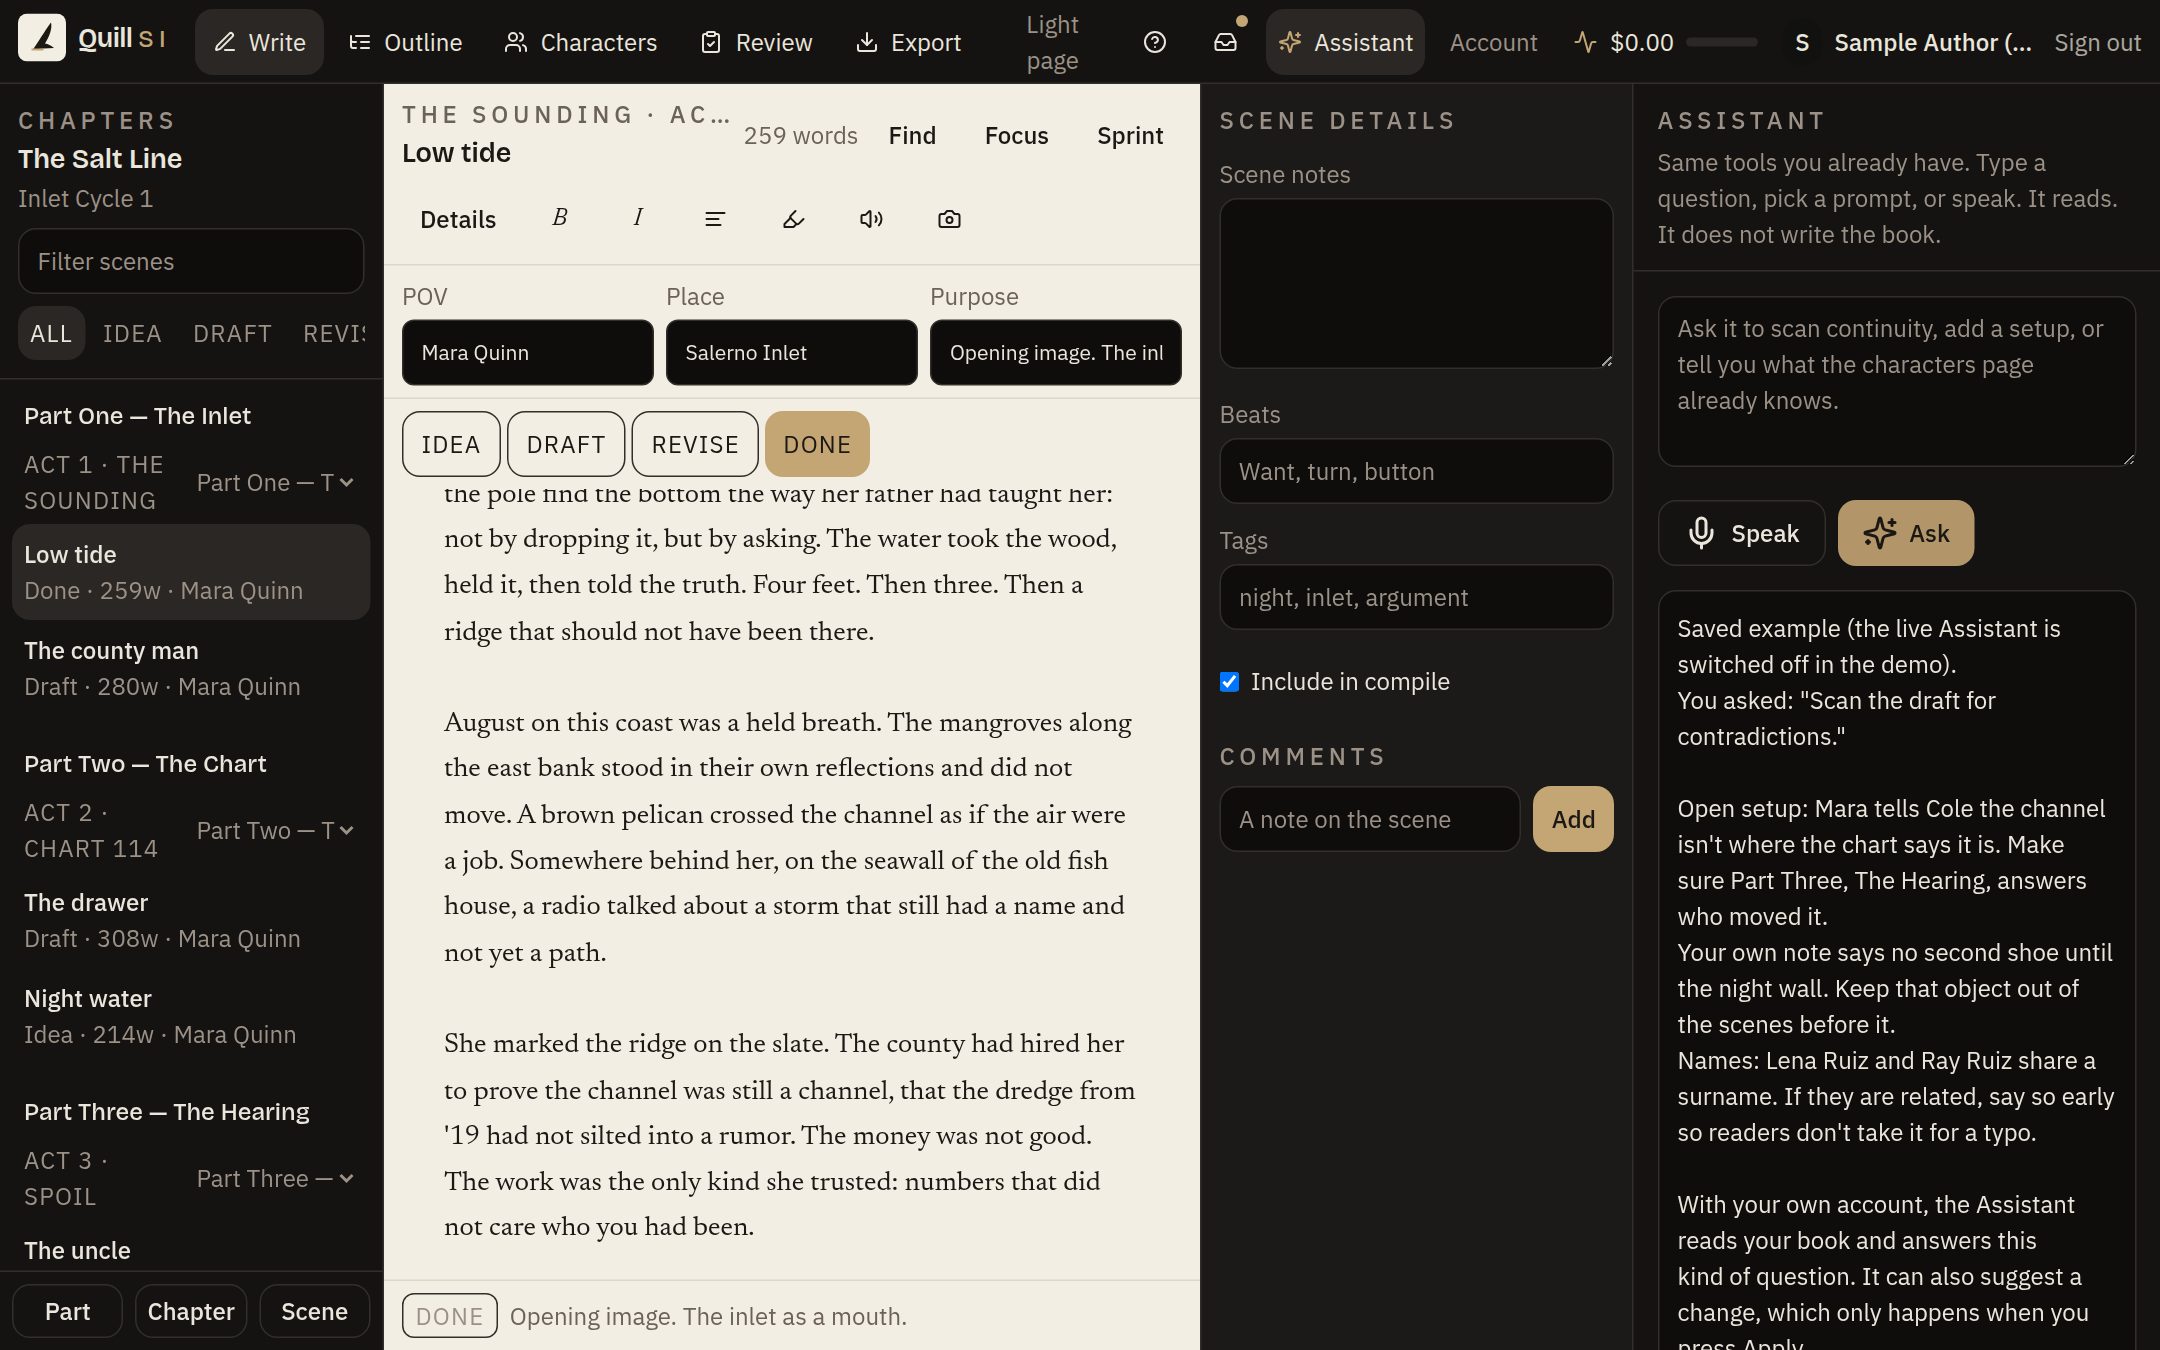
The sparkle button opens the Assistant. Type a question, or a plain command like “new chapter called Harbor Notes”. It reads your book and answers. If it suggests a change, you see it first, and nothing happens until you press Apply.
Do this: Tap the sparkle → type a question → Ask. Apply or Dismiss any suggestion.
Step 7
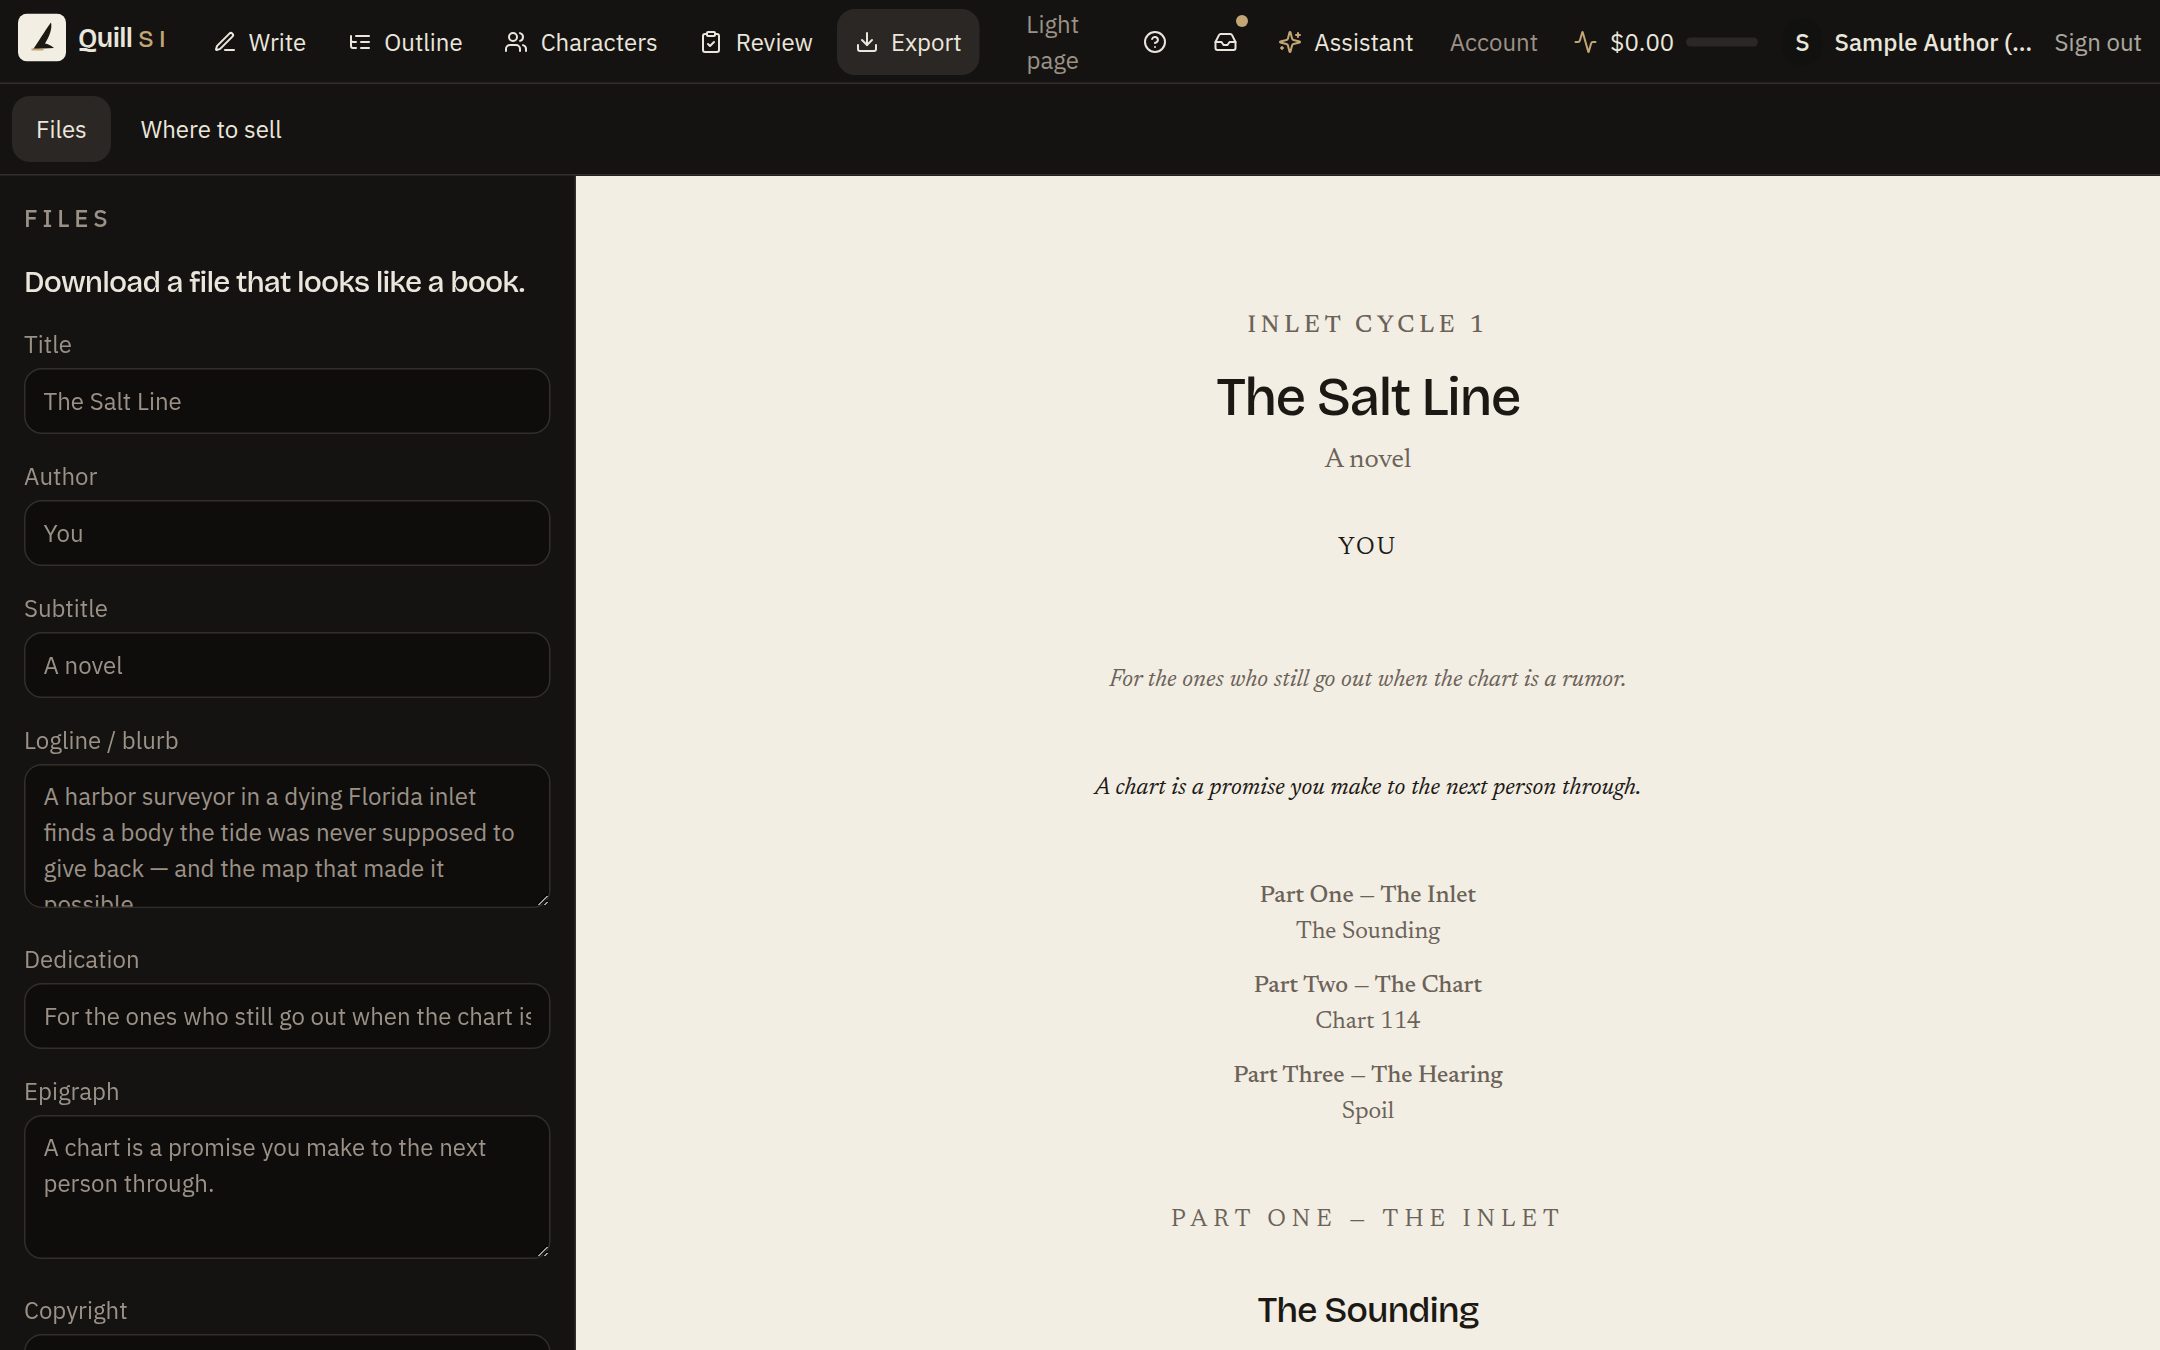
Fill title and author. Download Markdown, Word, EPUB, HTML, plain text, or a print-ready PDF (page size, margins, running heads, page numbers, 13 or 14 pt). Uncheck Include in compile on a scene to leave it out.
Do this: Open Export → Print-ready PDF, or Export EPUB or Word.

Step 8
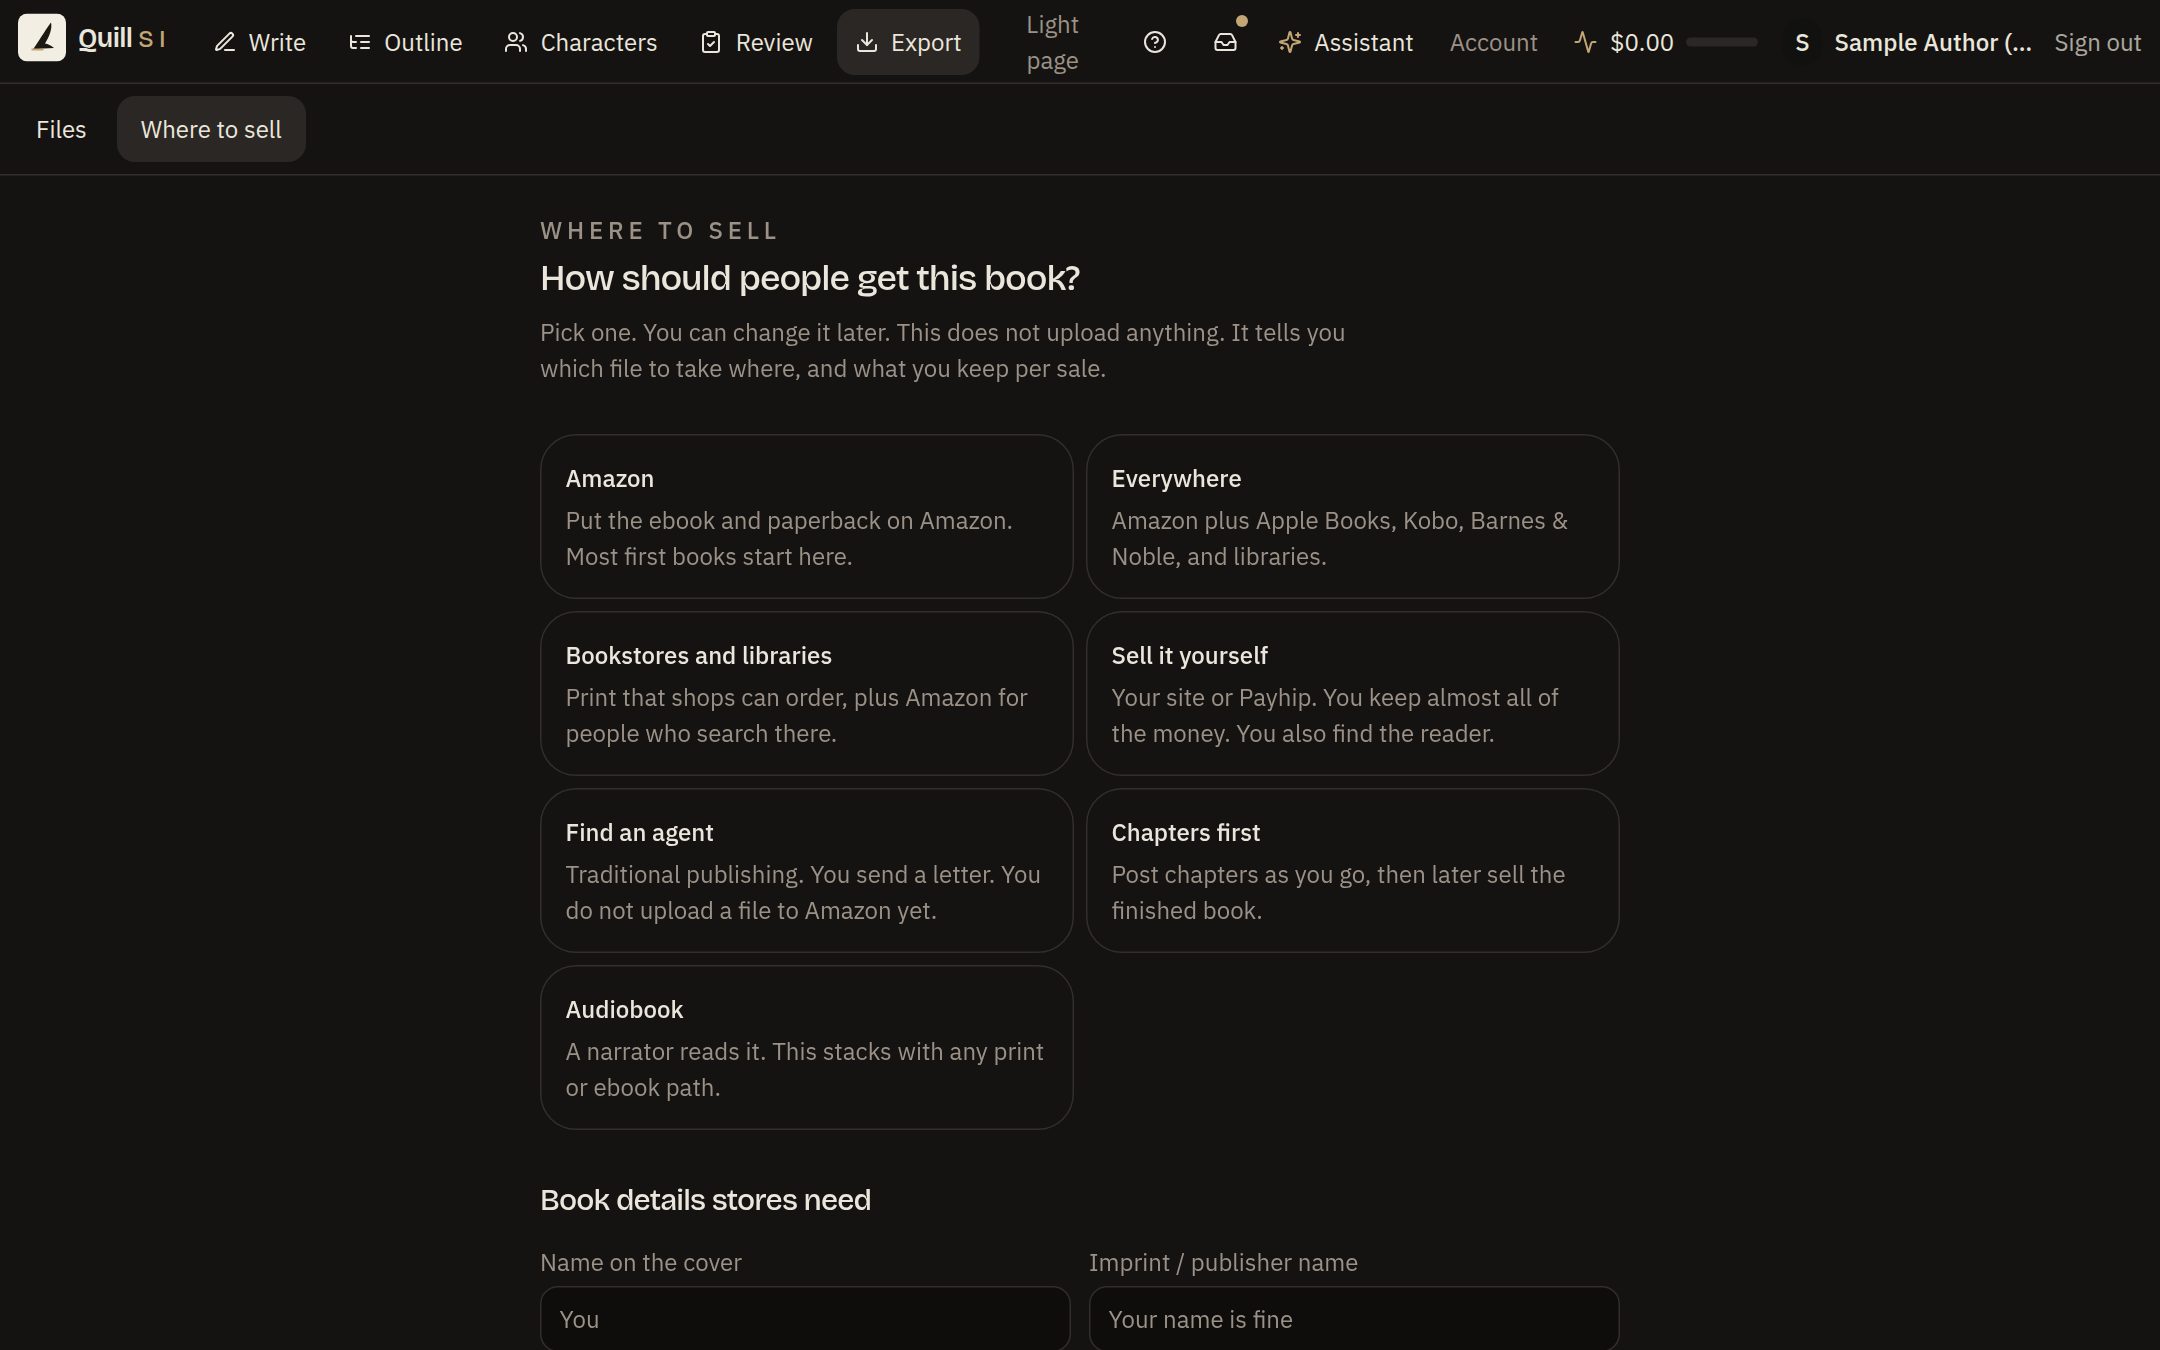
Still on Export, open Where to sell. Pick Amazon, everywhere, bookstores, sell it yourself, find an agent, chapters first, or audiobook. The app shows what you keep per sale, which file to upload, ISBN rules, and an A–Z checklist. It does not upload the book for you.
Do this: Export → Where to sell → pick a path → tick the next steps.
Assistant
The sparkle button opens the Assistant. Ask it to check continuity, suggest unused names, or run the same tools you already have. It does not write the novel, and any change it suggests waits for your Apply.
Shortcuts
Sign in, open the sample book, and type one sentence.